My Library

2014 Ballymaloe Literary Festival. Recap.

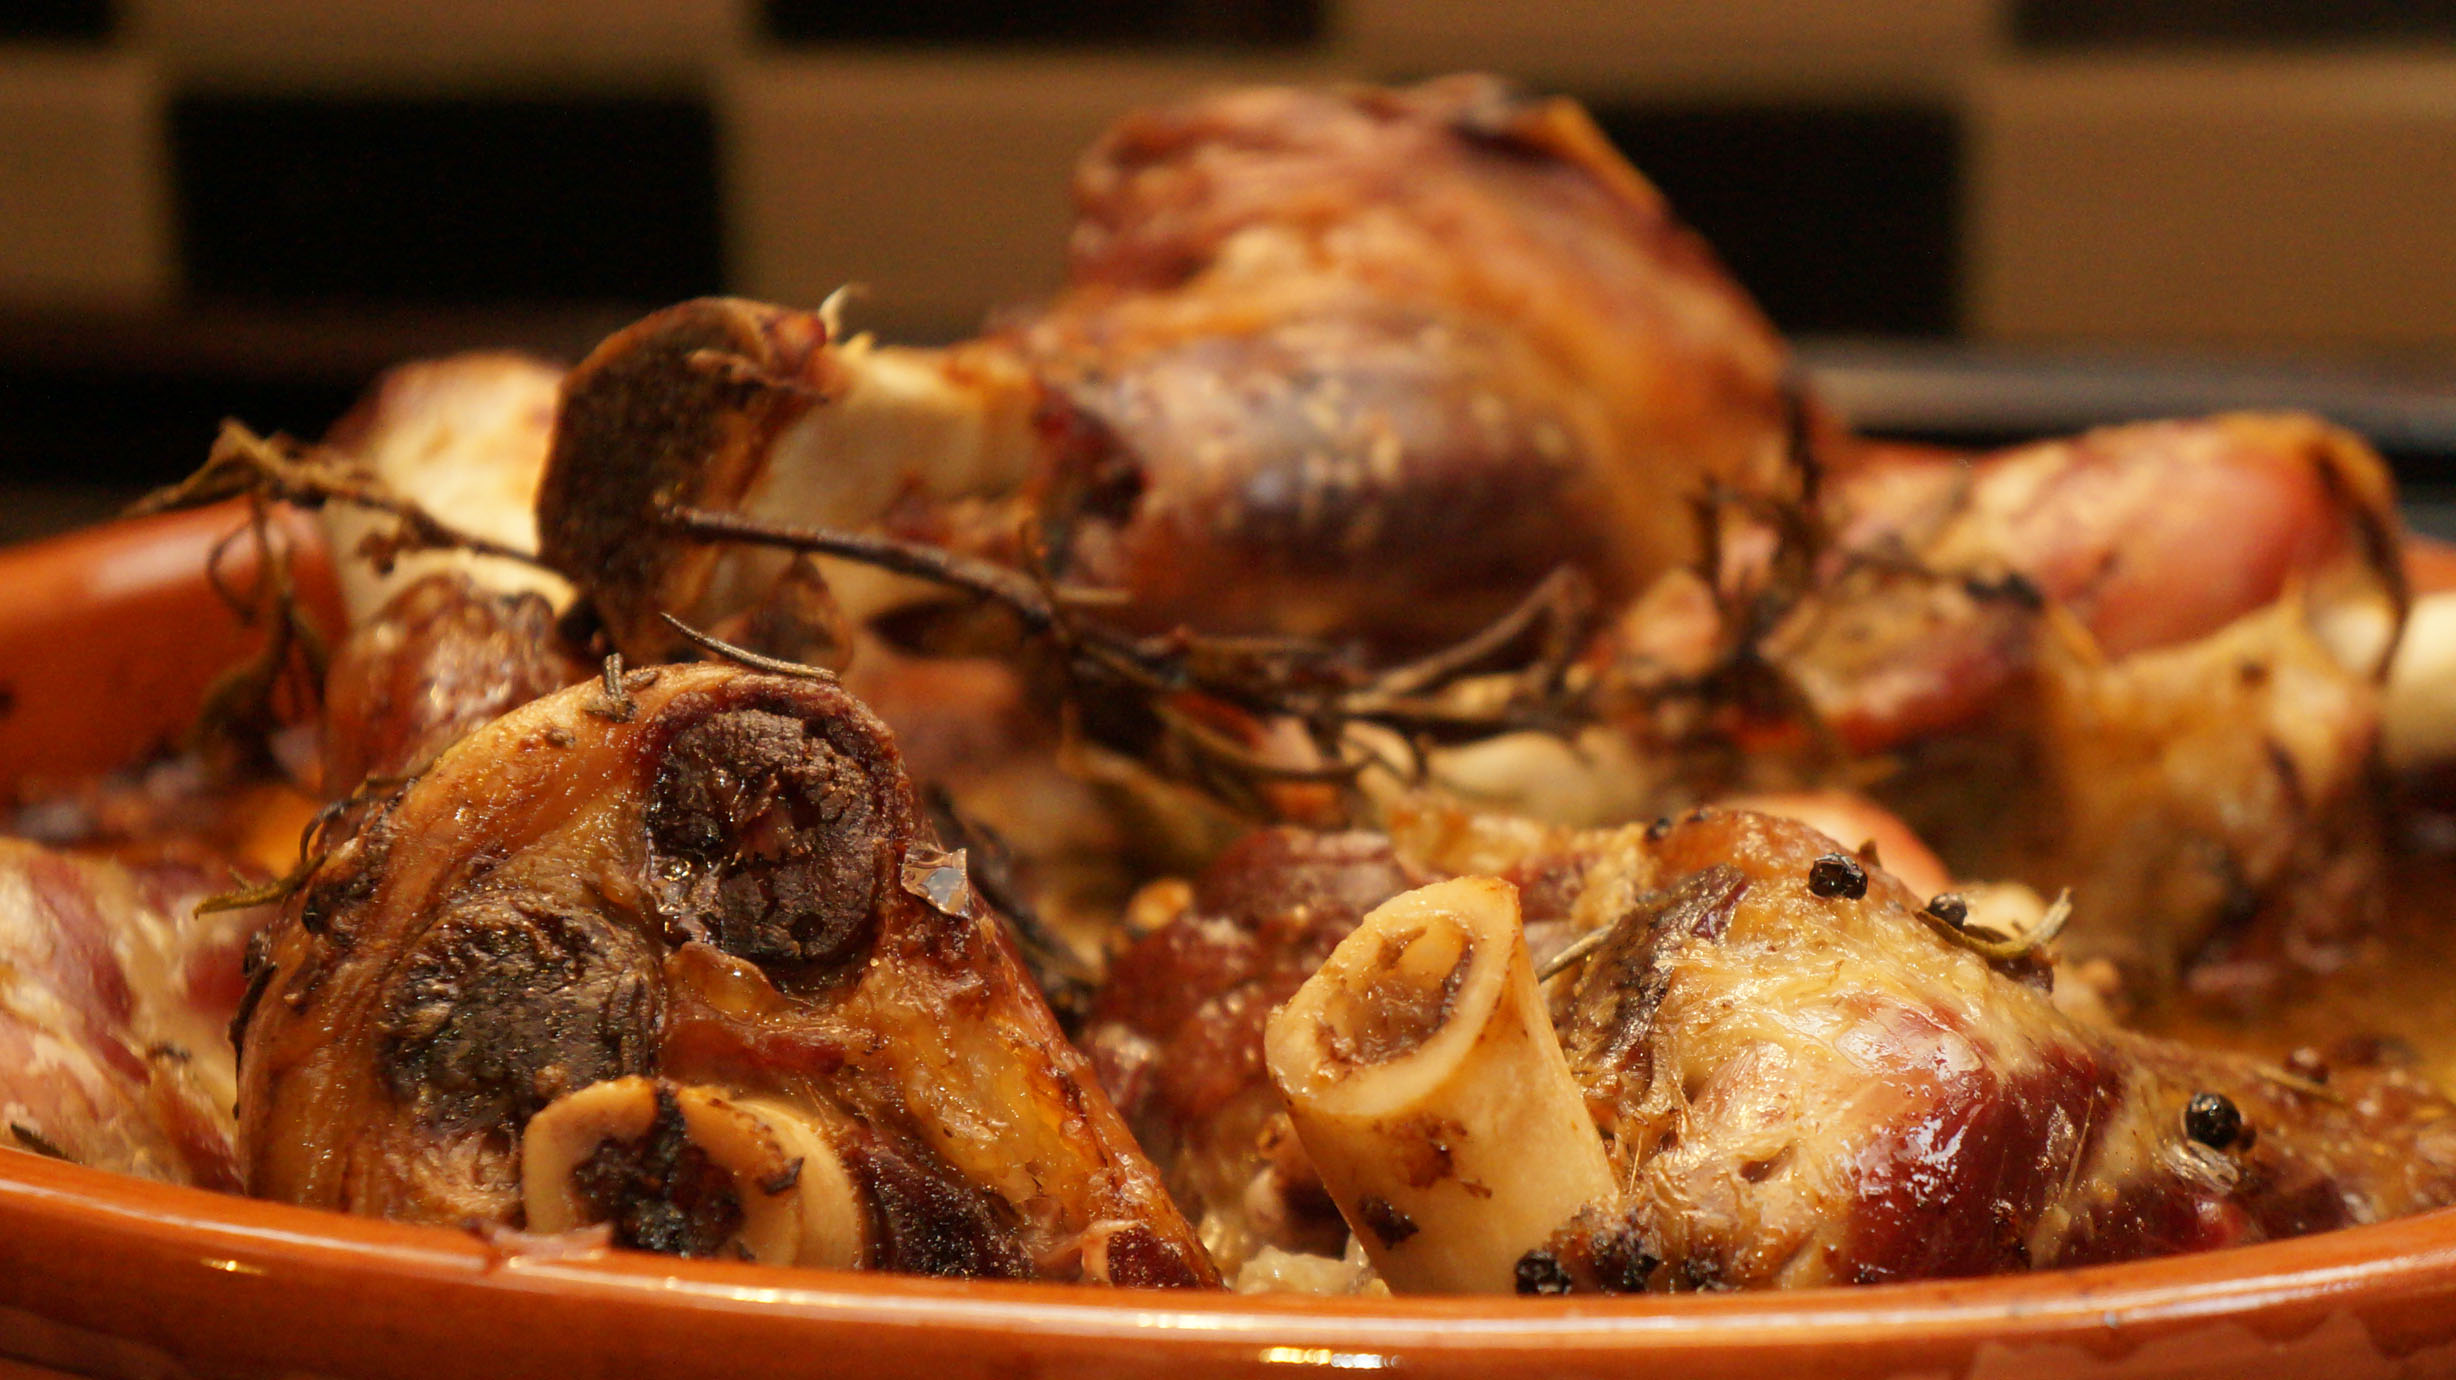
Well, what a crazy few weeks leading up to what was to be the most inspiring collection of food writers, chefs, filmmakers and food lovers! Besides all the amazing workshops, discussions and cooking demos, there was plenty to do at The Big Shed. Over the past few weeks I have researched, read and cooked from 10 of the guest speakers at this year's Litfest. As they walked through the Ballymaloe grounds, it was surreal having them go from computer screen / cookbook to right there in front of me. It was an incredible pleasure to watch these amazing people share their stories and passion about cooking food from scratch and from their hearts.

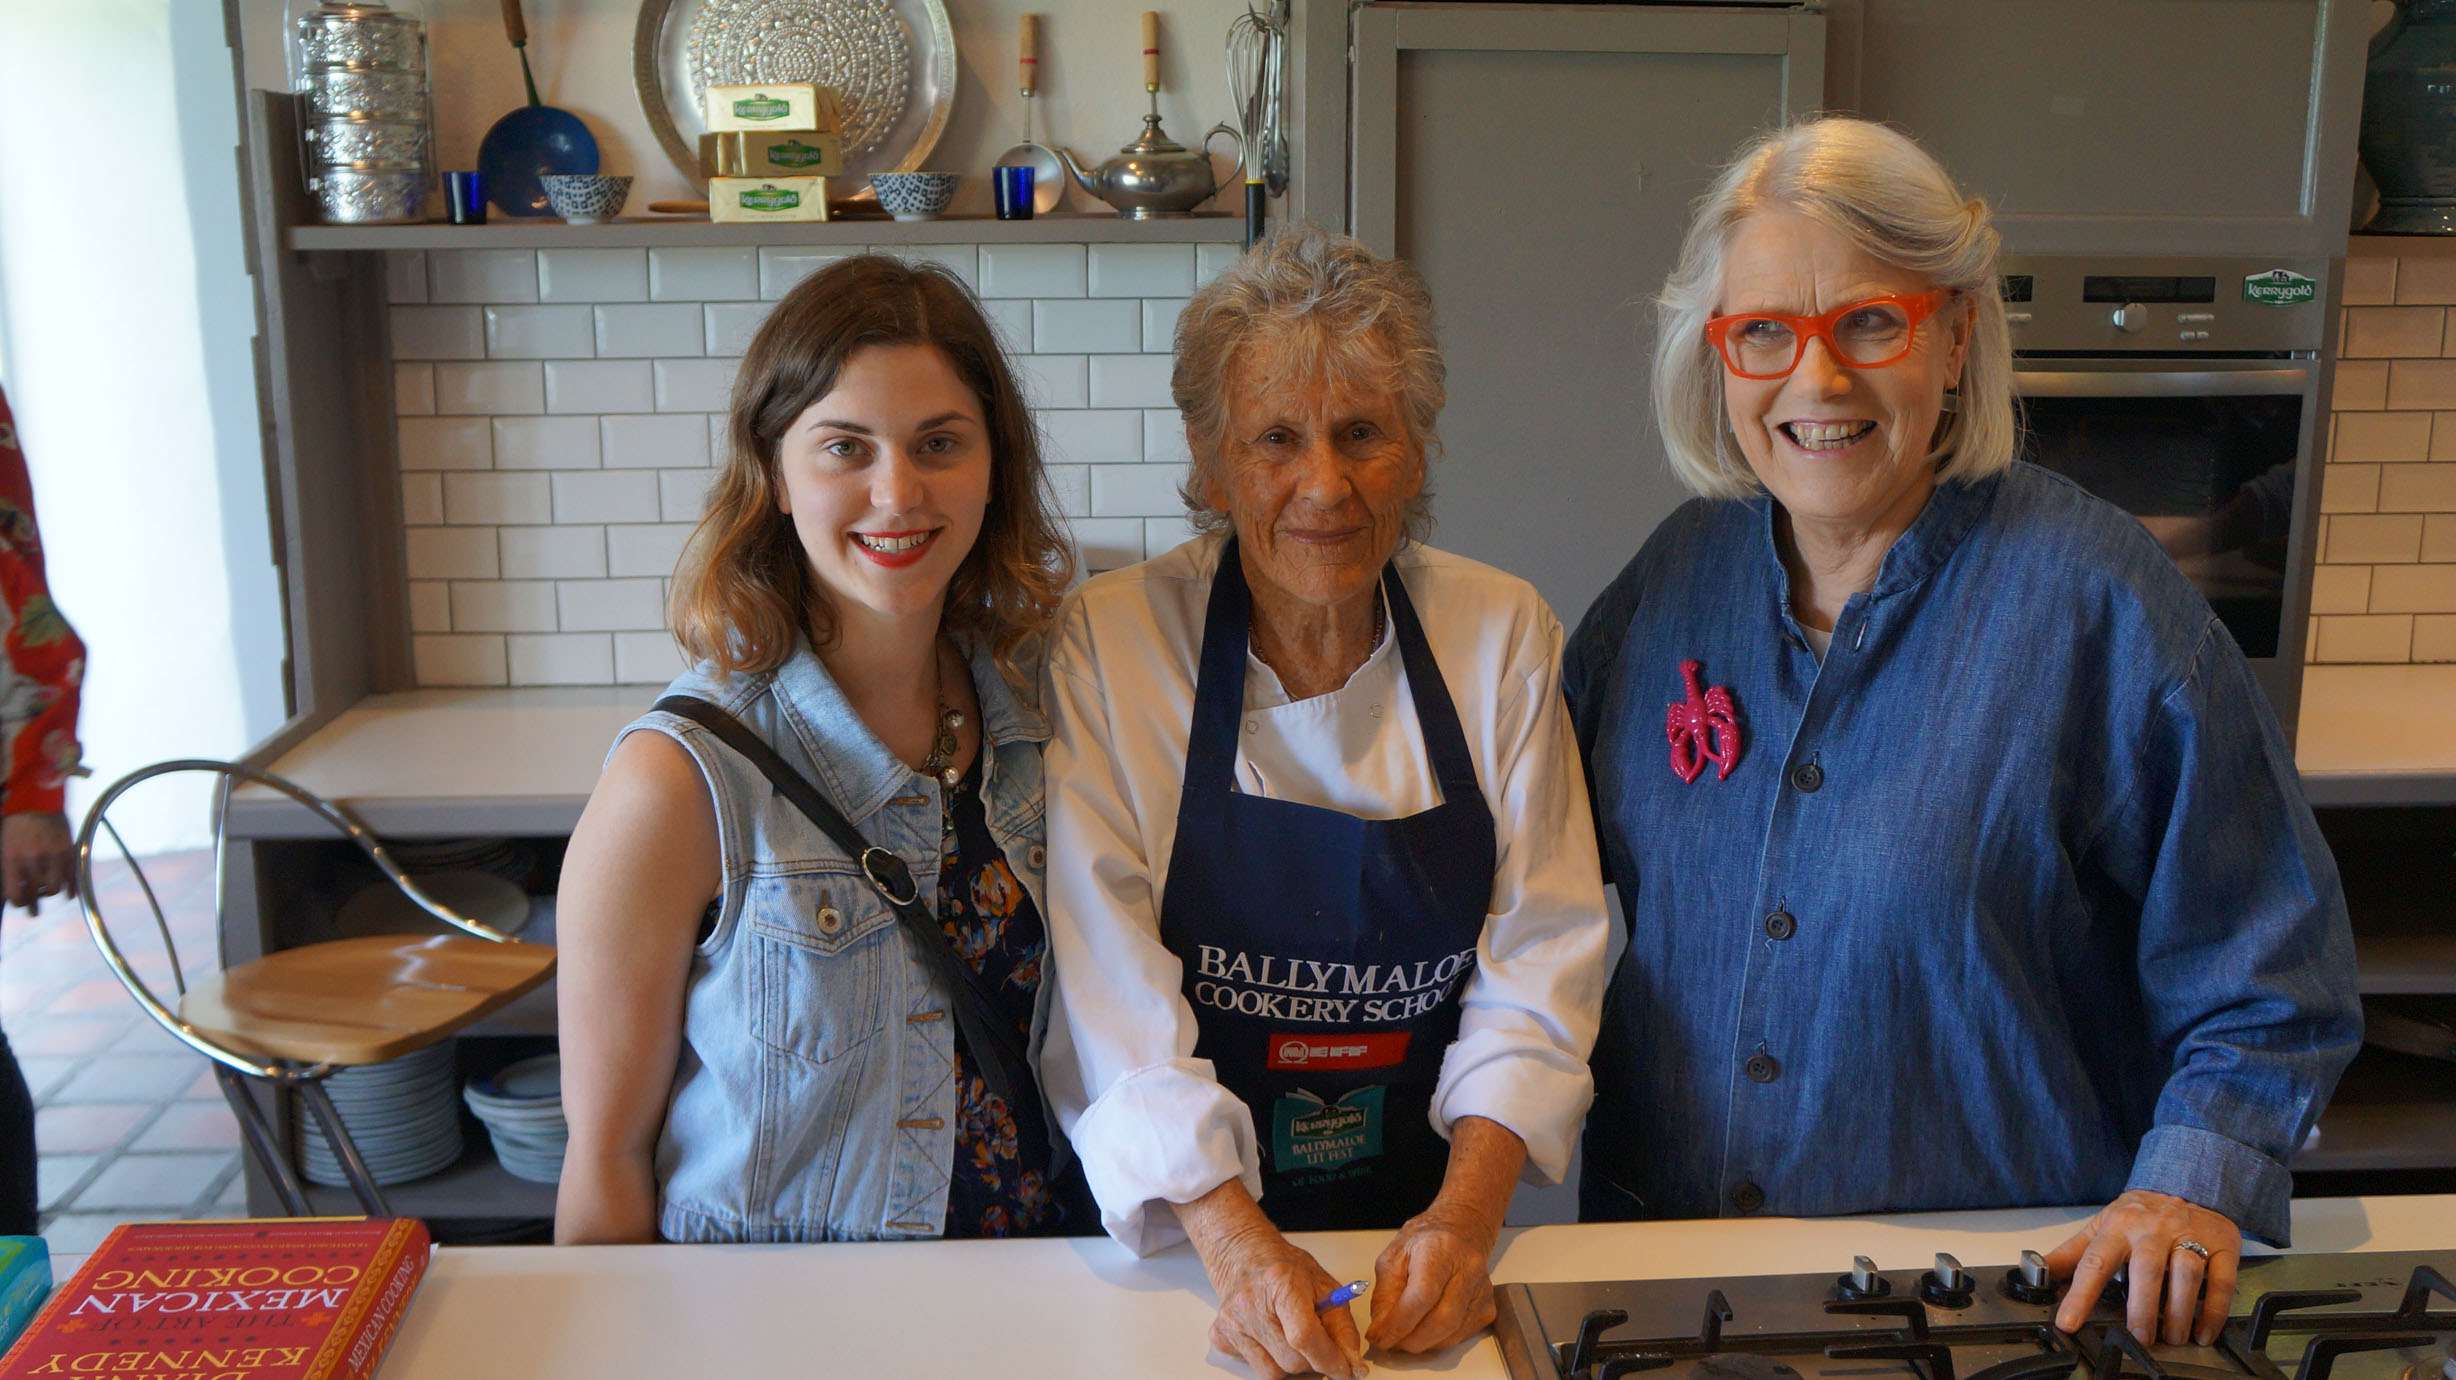
Diana Kennedy and Darina Allen

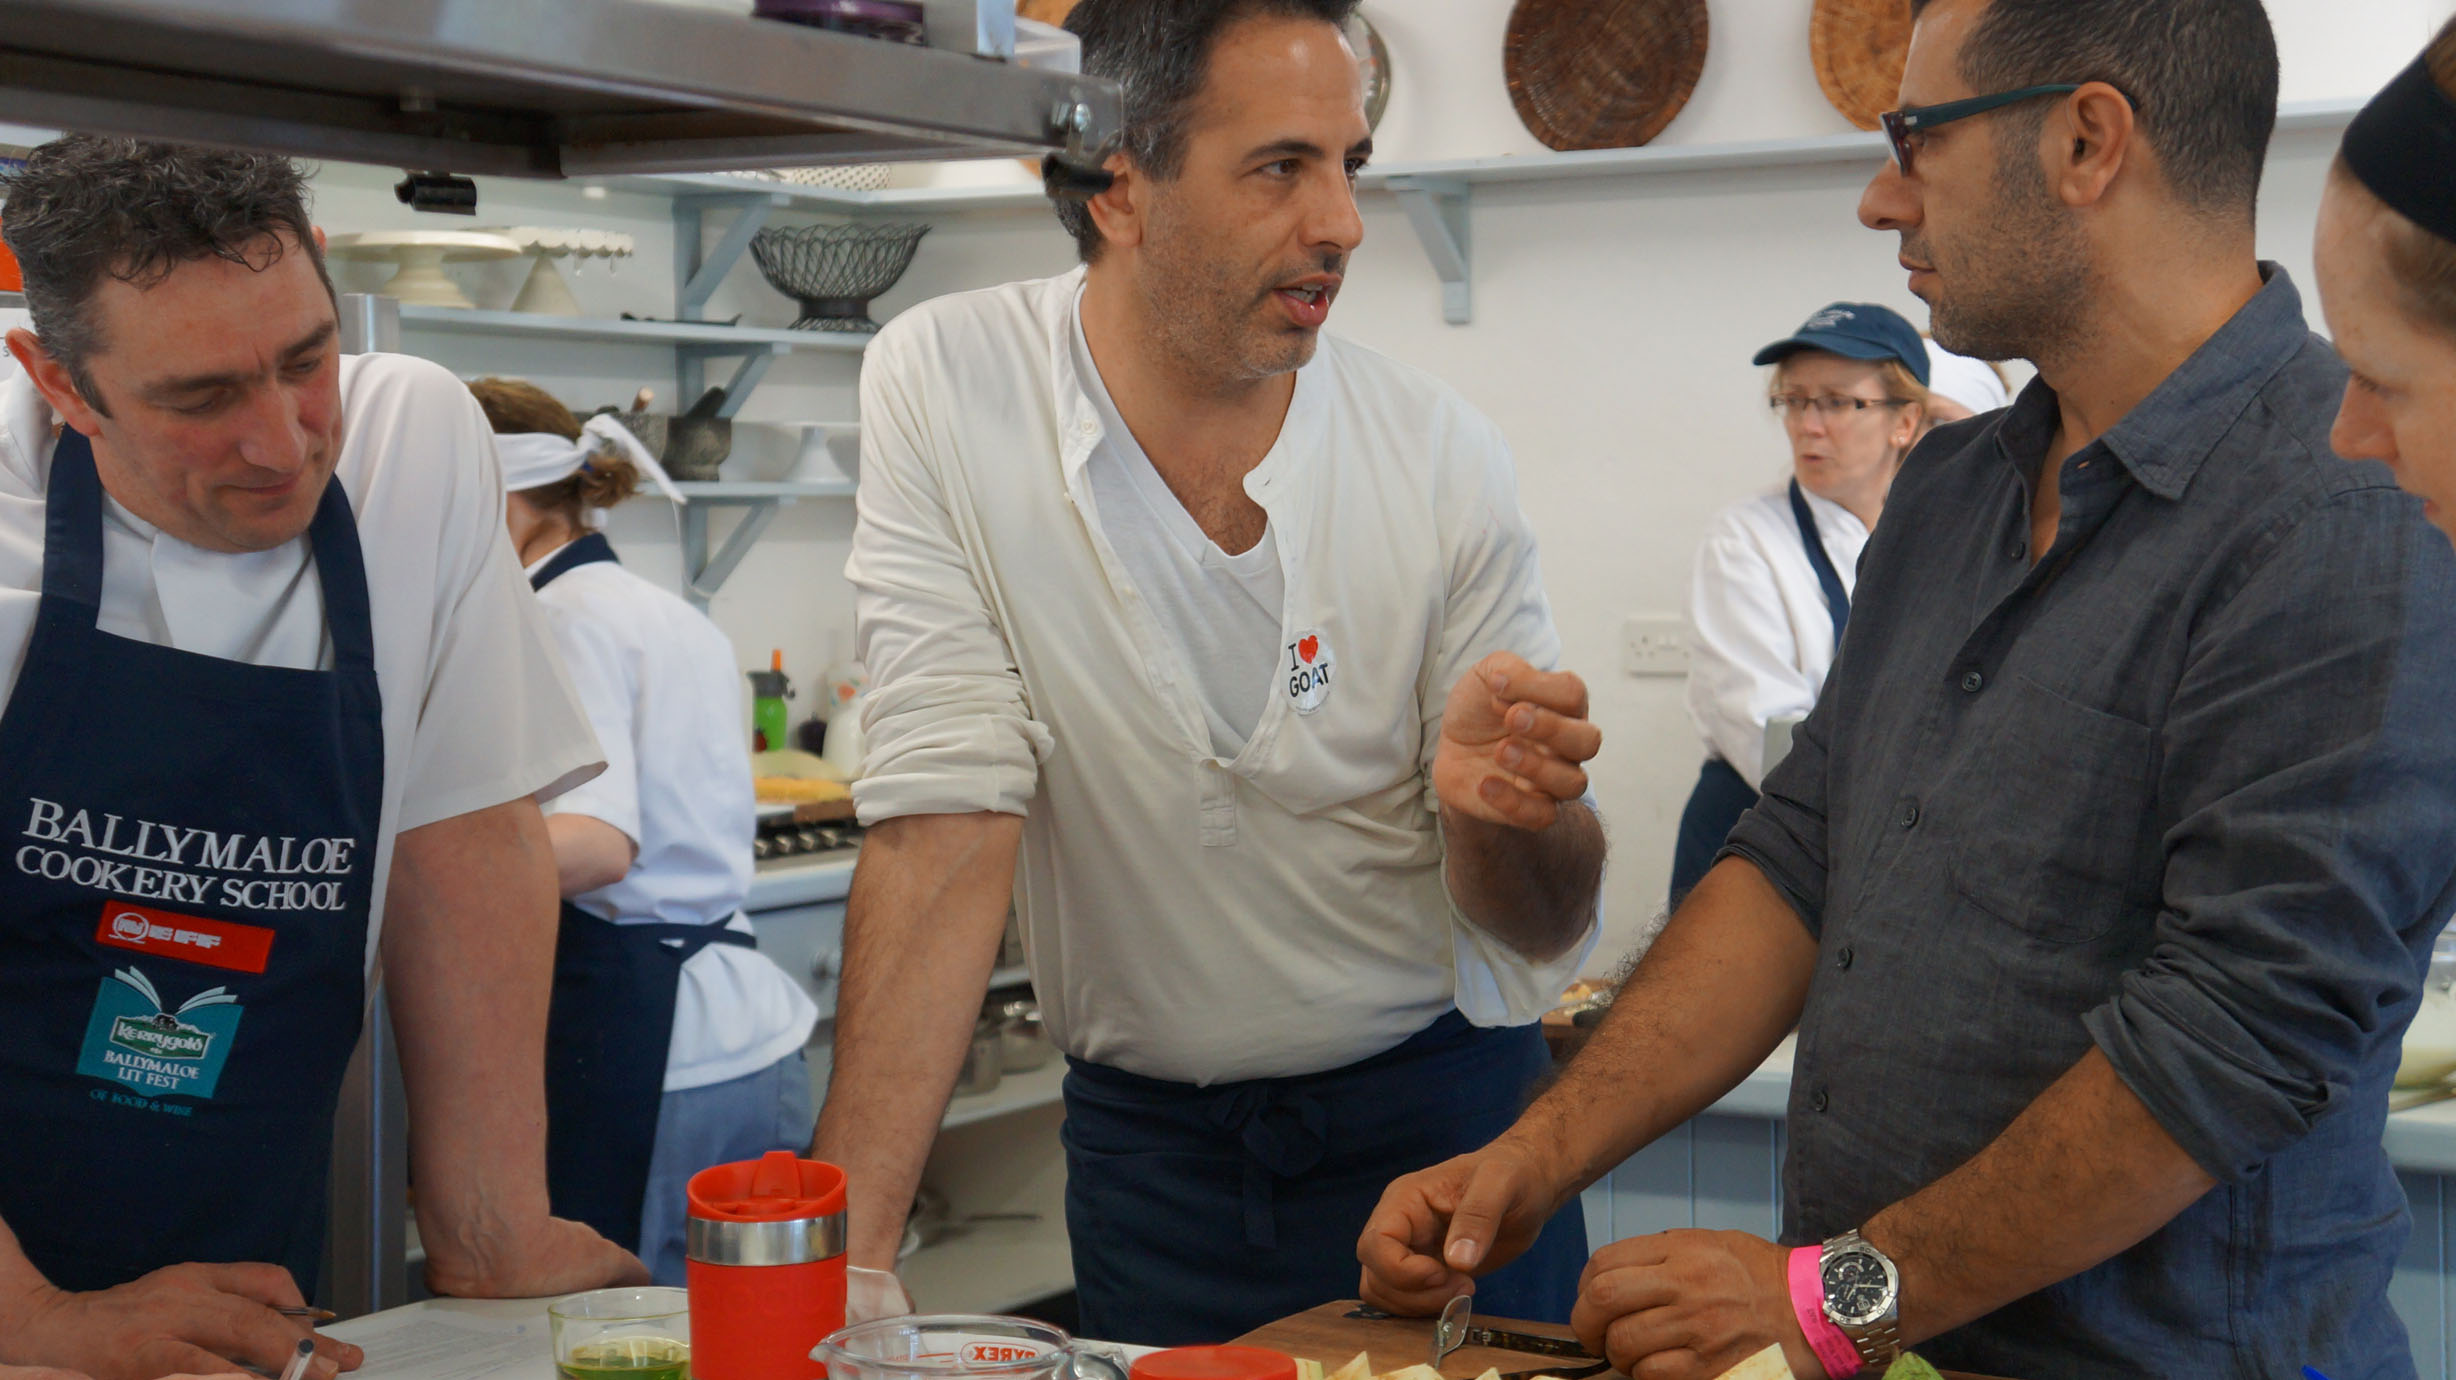
Yotam Ottolenghi & Sami Tamimi working with the Ballymaloe Cookery School staff on their once-in-a-blue-moon pop-up dinner.

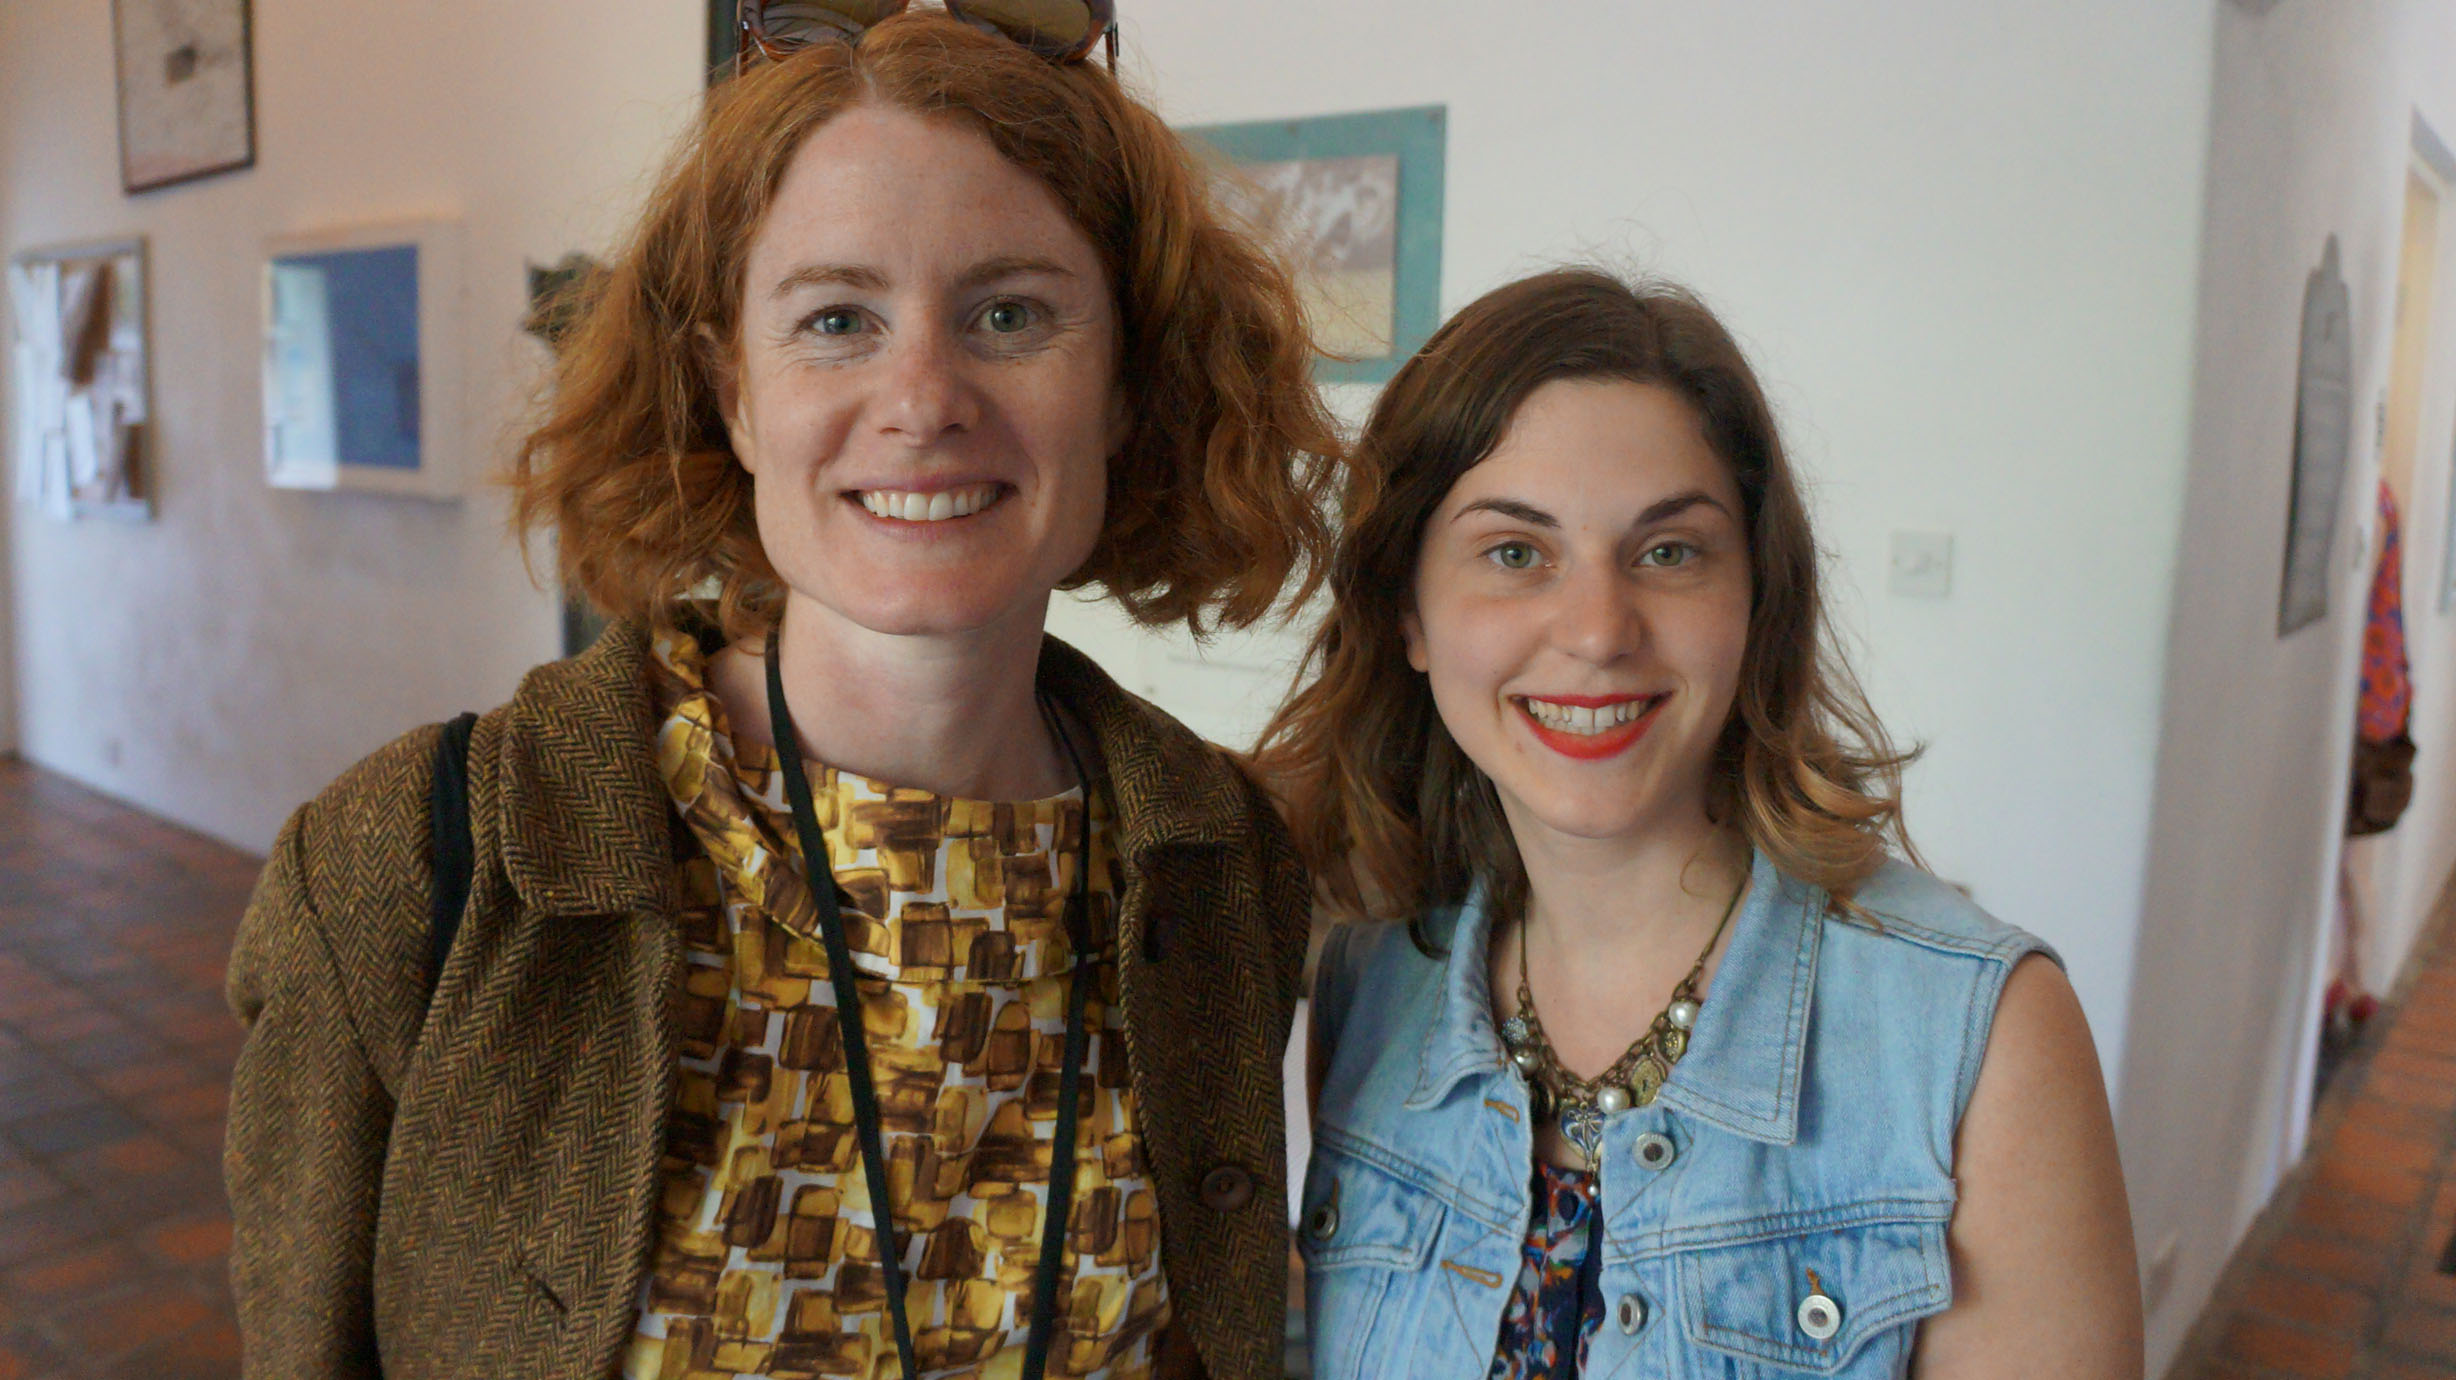
Donal Skehan and I after his talk on Food Blogging.

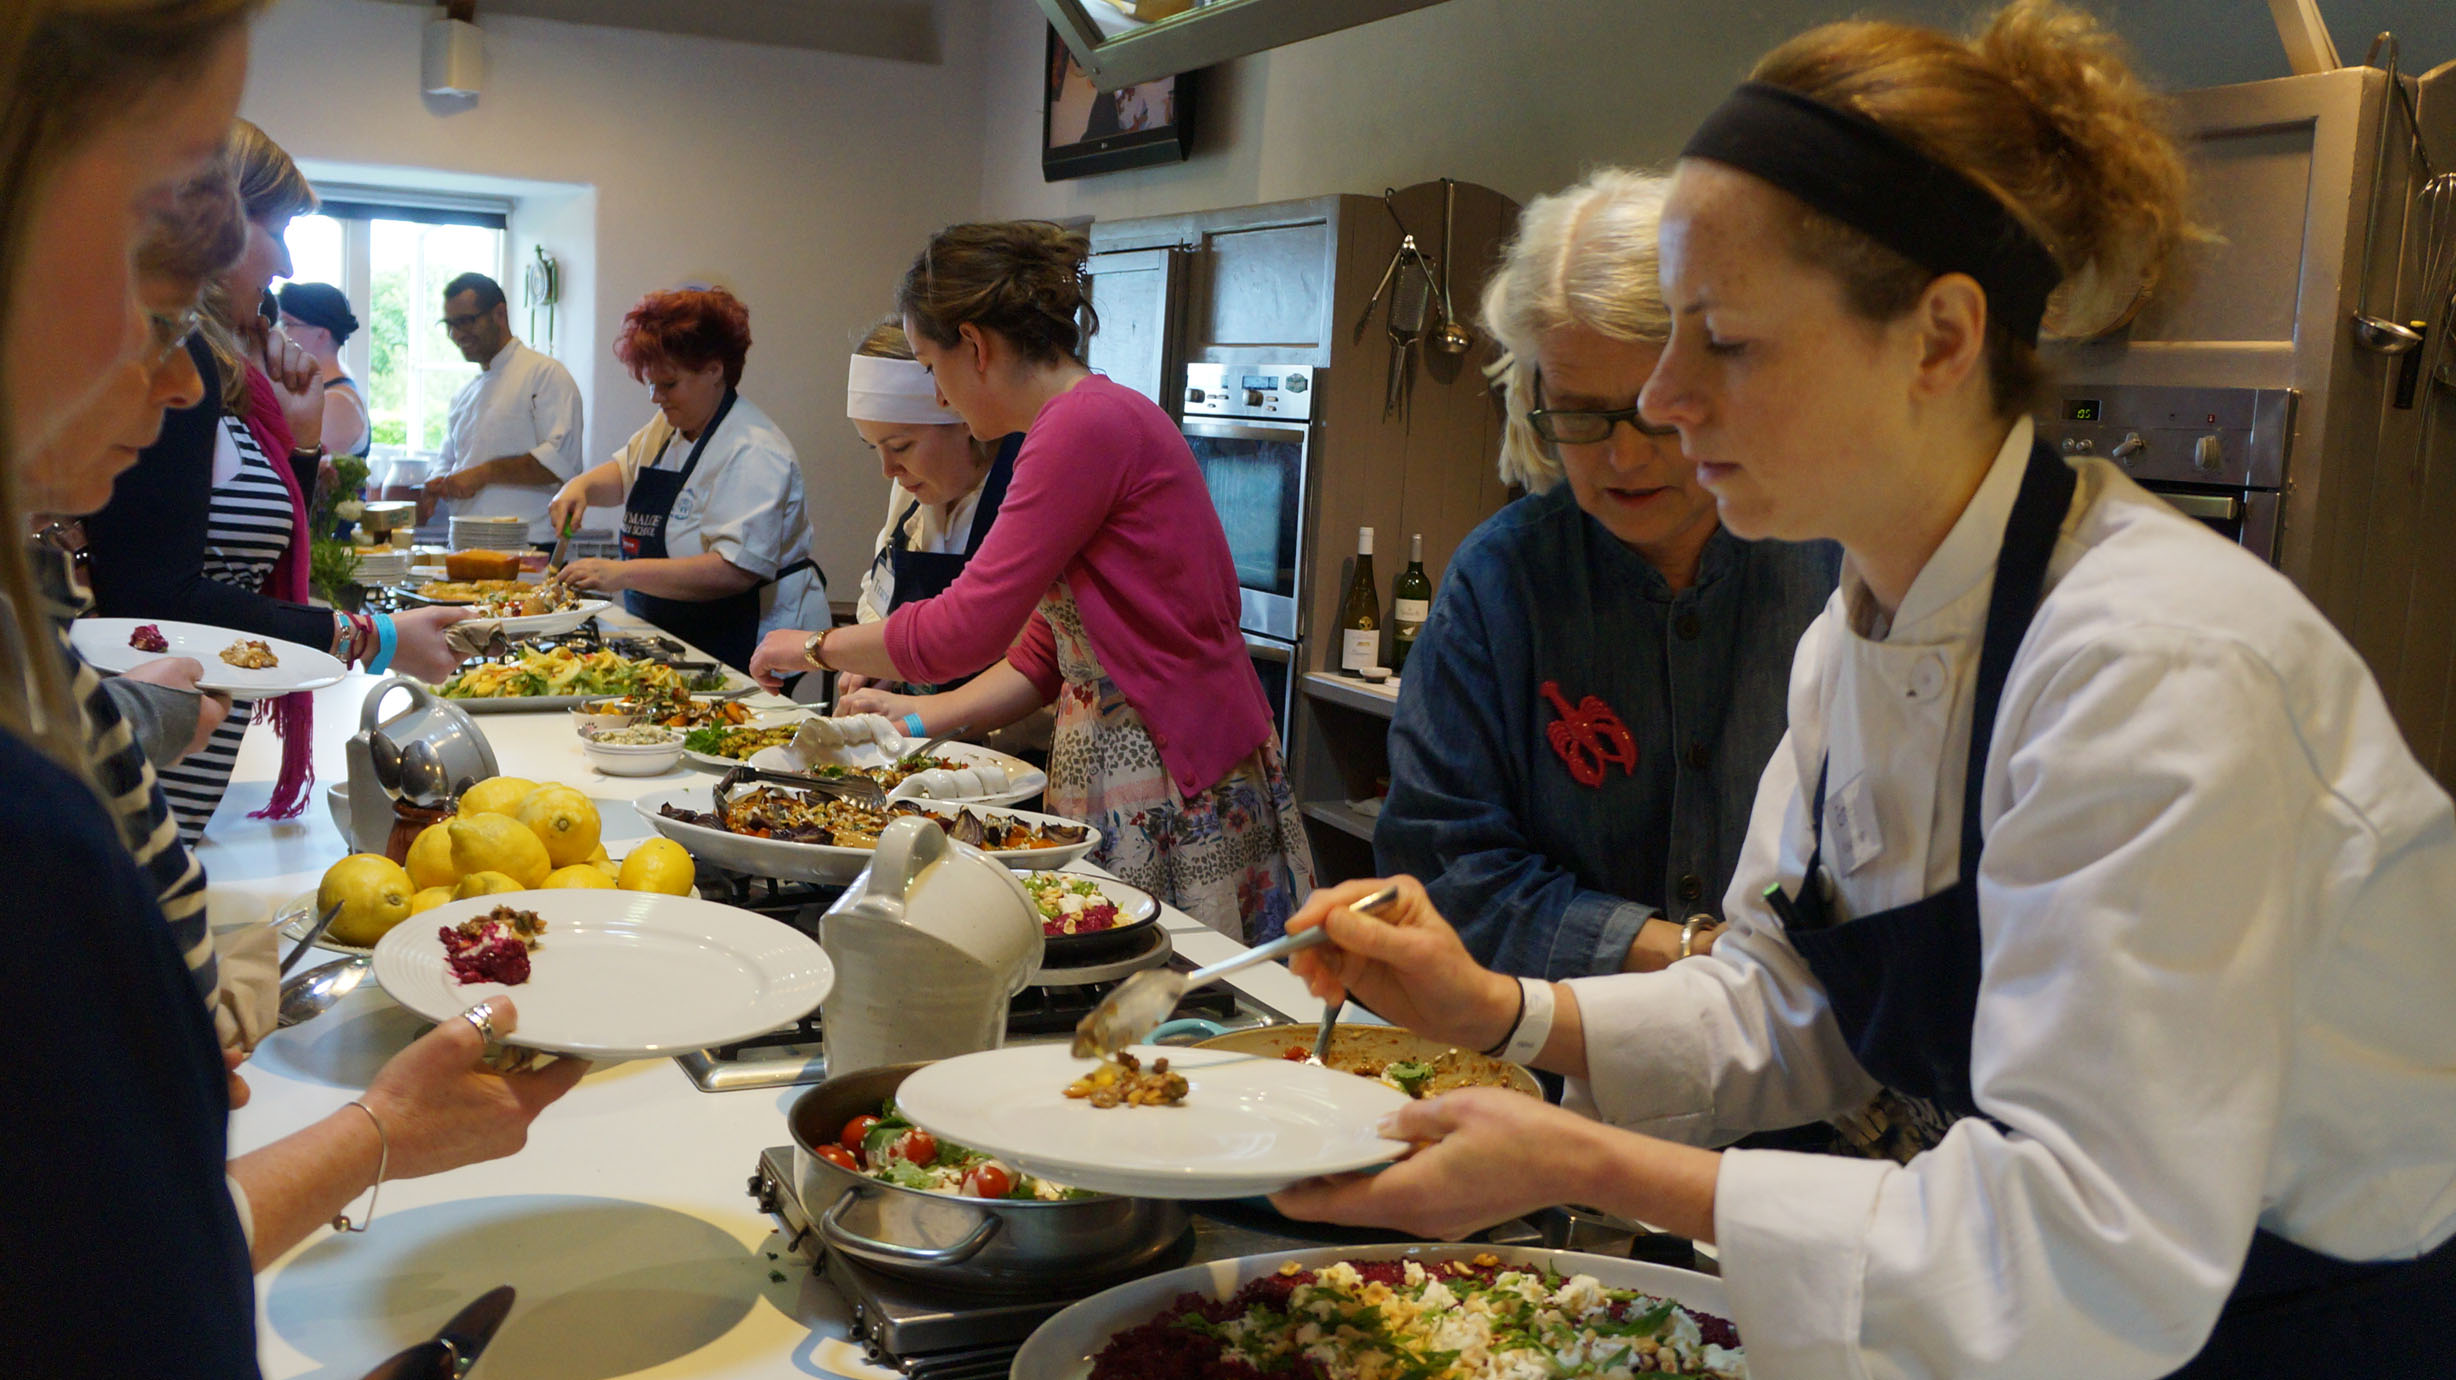
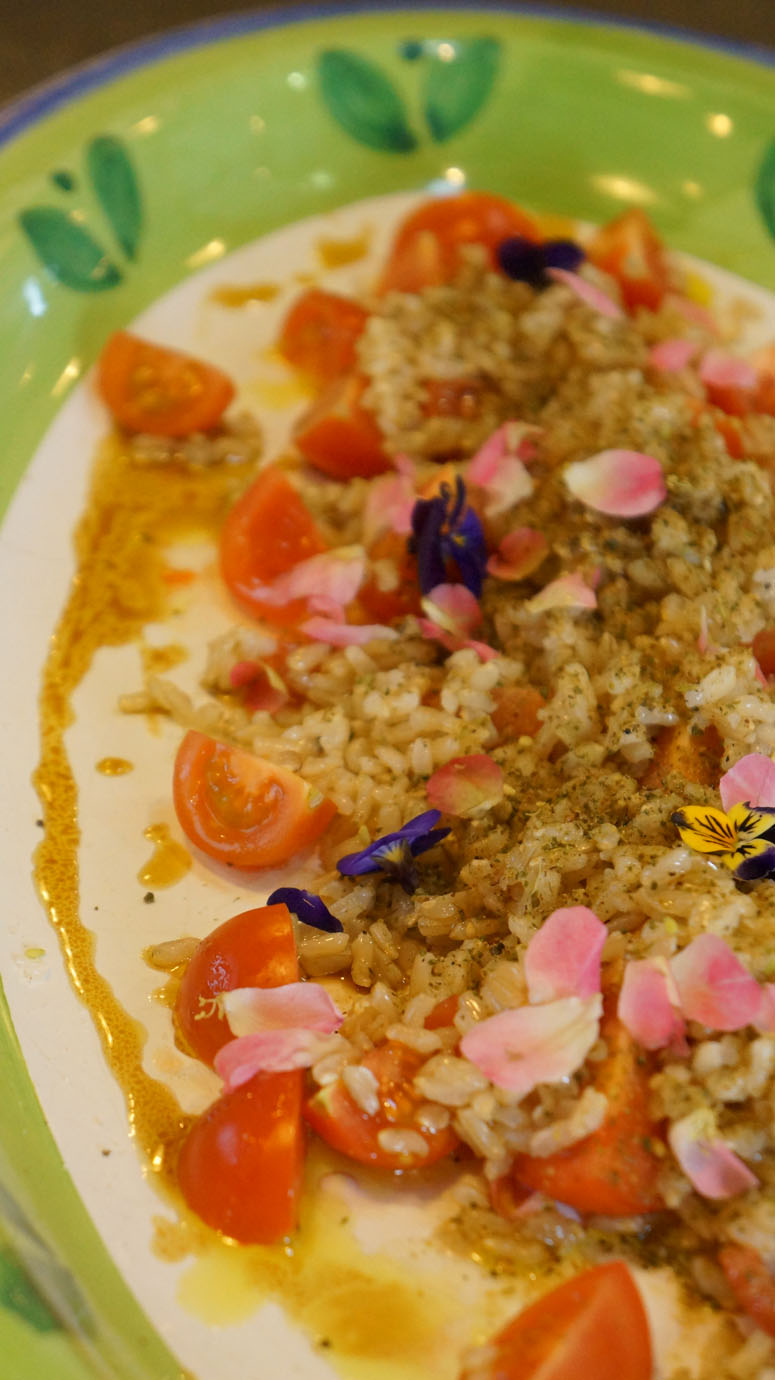
The 'U2' of Litfest: Sami and Yotom's incredibly, gorgeous, delicious and fresh cookery demonstration. I asked them whether it was worthwhile to make tahini from scratch. They said no, your kitchen will smell horrible and it's best to buy it Iranian-made.

Sandor Katz helping me say hi to a friend who absolutely adores him.

David Tanis

Thank you to everyone at Ballymaloe Cookery School for taking me under their wing and letting me help out on this amazing festival. Hope to see you all at the fest in 2015!

Susan Boyle's A Wine Goose Chase theatrical history of wine in Ireland.

DSC02312-1024x575.jpg

Food blogging.

Alys Fowler - fellow bee lover / author / forager

Food is fundamental

DSC02370-1024x575.jpg

Closing remarks

DSC02360-575x1024.jpg

Tripes a la Lyonnaise & Spinach Dumplings

Simon Hopkinson is a food renegade and has dedicated his life to searching out the best recipes – I can get into that! There is a refined approach to the recipes selected for Roast Chicken and Other Stories. They are sorted using basic ingredients and are lovingly crafted. In the introduction of the cookbook, Hopkinson expresses the learning curve he needed to go through in order to write recipes in a precise manner.

“I have written this book, not because I am a chef, but because I like to cook and I enjoy eating good food... [I am] not good at writing recipes on a regular basis... I have to learn to do that, and it has been interesting and beneficial to be so restricted.”

“Deep down in the mind of a good cook are endless recipes. It is a matter of knowing what goes with what; knowing when to stop and where to start, and with what ingredients.”

I have a strong desire to teach people how to cook intuitively – so I can see where Hopkinson is coming from! He balances the restriction he feels in writing recipes by making each chapter of this cookbook a general introduction to one of his favourite ingredients in so far as to say what the ideal way of cooking the meat is.

Below I show you two of the recipes of his that I've made from Roast Chicken and Other Stories. Be sure to check out his discussion of his work with Ballymaloe's own Rory O'Connell.

~~~~~

Tripes a la Lyonnaise
I've never made tripe before - this was a personal challenge. Yes, tripe is the edible lining of an animal's stomach. In this case, Ox tripe. The first time I ever tried it was in a Vietnamese restaurant in a Pho noodle bowl. I quite like the consistency and flavour when done right! Like most food, really...

110g / 4oz butter
900g / 2lb onions, peeled and thinly sliced
1tbsp tomato puree
700g / 1½lb cleaned ox tripe, preferably the honeycomb variety
salt and pepper
2tbsp red wine vinegar
6tbsp concentrated meat glaze
3tbsp finely chopped flat parsley

Heat the butter until pale nut-brown and add the onions. Stew gently until gooey and golden brown – this can take up to 1 hour. Add the tomato puree and continue to cook until the tomato puree has lost its bright red colour and has turned rusty. Put the tripe in a pan, cover with water, bring to the boil, drain and cut into thin strips. Turn up the heat and fry vigorously so that parts of the onion and tripe become burnished. Add the vinegar and allow it to burn off most of its harshness. Stir in the meat glaze, and let the whole stew bubble fora few moments before adding the parsley. Serve immediately, piping hot, with plain boiled potatoes.

~~~~~

Spinach Dumplings

700g / 1½ lb raw spinach
110g / 4oz ricotta
3 egg yolks
125g / 5oz Parmesan
freshly grated salt, pepper and nutmeg
plain flour
110g / 4 oz butter
20 sage leaves
1 lemon, cut into 4 wedges

Blanch the spinach briefly in fiercely boiling water, drain, and refresh in ice–cold water. Squeeze in a kitchen towel until as dry as possible.

In a food processor, purée together the spinach, ricotta, egg yolks, 3 oz Parmesan, and seasoning. Spread out in a shallow tray, cover with plastic wrap, and allow to firm up in the fridge for a minimum of 3 hours.

Using two teaspoons, form the mixture into little balls and roll immediately in the flour.

In a large pan, bring at least 3½ pints lightly salted water to the boil, and at a gentle simmer poach the dumplings, five or six at a time, and remove with a slotted spoon after about 5 minutes when slightly swollen.

Transfer to a hot serving dish, cover, and keep warm.

Melt the butter until nut brown, throw in the sage leaves, turn until evenly coated and slightly crisp, and spoon over the dumplings together with the butter.

Sprinkle with the remaining Parmesan and serve with lemon wedges.

~~~~~

Are there any ingredients you've been too nervous to cook? Try it for yourself and share your story!

How to make Quesco Fresco and Chalupas

Diana Kennedy is widely recognized as one of the most reliable authors and educators of regional Mexican cuisine. Her book From My Mexican Kitchen is a great guide through the techniques and subtleties of making authentic Mexican food. So throw away your pre-mixed spice blend and jarred salsa and let's get cooking! Unfortunately (or fortunately if you're the adventurous type), there is no straightforward answer to what is 'authentic' in Mexican cooking. The preparation of basic ingredients can vary from region to region even based on local lore or religion. For example, the preparation of chilies can be fresh, charred or sequentially charred – peeled – soaked – blended, etc. tomatoes can be peeled or unpeeled. Tamale wrappers can vary from dried or fresh corn husks to fragrant avocado leaves. Phew! Where to begin? Fortunately, Kennedy will be joining us at this year's LitFest to discuss such a topic!

One of my favourite ingredients from Central America is Queso Fresco so I had to use the opportunity of being on a dairy farm at Ballymaloe Cookery School to try and make it from scratch. I had already made cheese during the 12 week course (that took 12 weeks to ripen, too!) so making this fresh-tasting, mozzarella-like quick cheese was a walk in the park.

Adding rennet to coagulate 4L raw cows milk.

Let sit for 1hr.

Cutting 1" cubes and letting the whey escape for 2 hours.

After 2 hours.

Letting curds drain through a cheese cloth overnight.

Drained curd the next day.

Crumbling the curd.

Mixing crumbled curd with 2tsp salt.

Pressing the crumbled curd & salt in my makeshift cheese mold!

The final product!

You may be familiar with other tortilla-based mexican dishes such as quesadillas, enchiladas, etc. Chalupas caught my eye in Kennedy's book because of their unique shape.

Diana Kennedy explains, “probably named for the little canoelike boats that were used in the narrow water-ways... not far from Mexico City. In fact, they are either flat and oval or canoe shaped and often filled with shredded chicken and seasoned with a green sauce, topped with onion and crumbled queso fresco”

~~~~~

Chalupas

10 oz, 1 heaped cup Tortilla Masa
Melted lard or vegetable oil, for reheating

Topping

375ml, 1½ cups loosely packed, cooked and shredded chicken
188ml, ¾ cup salsa verde *I used Thomasina Miers' salsa since tomatillos weren't in season yet... 83ml, 1/3 cup finely chopped white onion
83ml, 1/3 cup crumbled quesco fresco

Work the masa well until it is soft and smooth and divide into twelve equal parts. Roll each part into a ball about 1¼ inches (3.13cm) in diameter and cover with a damp cloth.

Warm a lightly greased comal over medium heat. Roll a ball of the masa into a cylinder about 3 inches (7.5cm) in length, and with your index finger (as shown), press down to form a hollow in the center of the masa and tapering at the end like a small canoe. Place on the warmed comal bottom down (I used a cast-iron pan) and cook until the masa is opaque and slightly speckled with brown, about 4minutes. Turn the chalupa over and cook on the hollowed side for a further 4 minutes, or until the dough is cooked but oft inside with a slightly crusty surface.

Fill and dress the chalupas; as you will need half the quantities given in the list above.

Note: Like all masa antojitos these are eaten the moment they are cooked but this may not be practical. So make them ahead of time and keep them covered-untilled-with a damp cloth. Reheat gently in the melted lard or oil and then fill and serve. I do not recommend freezing (although some people do it) because it tends to toughen the masa or it disintegrates when defrosted.

Chocolate Chili Truffles

As most great chefs, Thomasina Miers is well traveled and draws inspiration from each region she's connected with – Ireland, England and (especially) Oaxaca, Mexico. As fresh Ballymaloe graduates, her and Clodagh McKenna traveled the Irish country-side selling their home-made pastas, sauces and sourdough. It's beautiful to imagine how such humble beginnings and hard work have gotten these two celebrated chefs where they are today. With sustainability in mind, Tommi (as she calls herself) went from winning the famed TV show competition Masterchef to opening Wahaca – a number of authentic and sustainable Mexican street food restaurants in and around London, England. Oh, and she also loves chilies, so much so that she will share a tasting of them at this year's Lit Fest.

The chilli chocolate recipe is from her first solo cookbook Cook (2005). The other two are from her own private collection that she is doing especially for the chili tasting event.

~~~~~

Chipotles ‘En Adobo’

I have no photos of this recipe but it sounds so good that I had to post it! She writes: “En adobo’ means in a marinade. This marinade is a simple-to-make smoky, fiery, slightly sweet purée that harnesses the intense flavours of chipotle chillies. It lasts for months and soon becomes an indispensable ingredient in the kitchen, delicious in stews, pasta sauces, dressings and mayonnaises. Once you have started using it you may well find yourself wondering how you ever did without it.”

200g Chipotle chillies (about 65)
A head of garlic, cloves roughly chopped
A large, Spanish onion, roughly chopped
3 tbsp fresh oregano leaves or a few good pinches of dried oregano
1-2 tbsp thyme leaves
3 tbsp tomato puree
A tsp cumin seeds, crushed
2 fresh bay leaves
4 tbsp olive oil 350ml good quality white wine vinegar
50ml saba or good Balsamic (optional) 7 tbsp
Demerara or palm sugar
2 tbsp sea salt

Wash the Chipotles in cold water and drain. Snip off the stalk end of each chilli with scissors, which will allow the water to penetrate their tough skins. Cover with water and simmer for 30-40 minutes until completely soft.

When the chillies are soft, rinse off any excess seeds. Put the onion, garlic, herbs and spices into the blender 200ml of water and six of the chillies. Purée to a smooth paste (a stick blender is just as easy). Heat the oil in a large, heavy-bottomed saucepan until it is smoking hot. Add the chilli paste and fry for about three minutes, stirring continuously with a spatula to prevent it catching and burning.

Add the vinegar, sugar, salt and another 100ml water and cook for another five minutes before adding the rest of the chillies. Cook, whilst stirring for a further fifteen minutes and at the end check to see if the purée needs more salt or sugar.

Store in clean jam jars or Kilner jars. These make great presents at Christmas or make a smaller batch just for you.

NOTE I often blend the chipotles into a puree after they are cooked which makes them easier to measure out into recipes.

~~~~~

A Blow Your Head Off Salsa

2 tbsp vegetable or olive oil
1 small onion, chopped
2 cloves garlic, chopped
3 medium carrots, diced into small pieces
500ml water 2 Scotch Bonnets, stems removed
The juice of 2 limes
2 tbsp white wine vinegar or good quality cider vinegar
1 tbsp salt
½ tsp dried oregano or 1 tsp of fresh if available

Dry-roast the chillies in a pan until blackened and soft. Open out and de-seed. Heat the oil in a pan and sweat the onion and carrots for 10 minutes before adding the garlic. Cook until the onion turns translucent and then add the water. Bring to a boil and simmer until the carrots are soft. Add the remaining ingredients and purée in a blender until smooth.

Store in a clean sterilized jar in the refrigerator.

~~~~~

Chilli Chocolate Truffles

500g dark chocolate (70% cocoa solids) 200g chocolate (at least 40% cocoa solids) a good pinch of ground cinnamon a good pinch of allspice berries 10 cloves 1 teaspoon chilli flakes 400ml double cream 30g butter 50g cocoa powder

Grease a baking tin (approx. 30cm by 12cm) with a little vegetable oil and line with cling film. Break the chocolate into smaller chunks to make it melt more easily. Grind the spices and chillies with a pestle and mortar, and heat with the double cream in a heavy-bottomed pan. Add to the chocolate in a heat-proof bowl and stir in. If you melt the chocolate with cream that is too hot, the chocolate will split, in which case you will need to stir a few tablespoons of cold cream into the melted chocolate. If the chocolate does not melt completely, suspend the bowl over a pan of gently simmering water to warm the chocolate gently. Stir in the butter. Pour the mixture into the tin, ensuring it is flat and has filled the corners, and freeze for 1 hour. Sieve half the cocoa powder into a large bowl. Turn out the chocolate mixture onto a chopping board and cut into cubes. Toss the cubes in the cocoa powder, sieving more over the truffles as you cut them to prevent sticking, and transfer them to a plastic bag. Store in the fridge or freezer.

~~~~~

 Have a taste for heat?

Slow Cooked Lamb Shanks, Apple Tea Cake

Maggie Beer is a force to be reckoned with. With 9 cookbooks, this renowned Australian author believes in classic, wholesome cooking using simple, local ingredients. As I write about Beer, I can't help of think of her journey. It seems like she, and the other authors I've been blogging about, have been inspiringly ambitious and followed a passion that led to success. In Beer's case, starting a pheasant-based farm shop led to opening a restaurant when she realized the shop alone wasn't quite paying the bills. Similarly, Tim and Darina Allen went from farm shop to cooking school when they, too, realized that the direct sale of their farm's goods was not quite enough.

One has to then consider the current price of food. People are slowly beginning to catch on that the price of food is still too low – not the other way around! For the amount of work that needs to be done, versus the expectations people have for food costs often means a degradation of quality in food.

Here's a brilliant 3min video explaining the True Cost of Food:

Verjuice is one Beer's favourite ingredients.

For those who don't know what it is, it is the juice of tart young grapes that are then stabilized with alcohol. You can juice the grapes yourself if you have a vine but if you pick them and they don't make your mouth pucker, they are too ripe. When you make it yourself, you can make the quantity you'd like without the addition of alcohol, but it won't keep. So, freeze the young grapes and juice them as needed if you can't find this delicate ingredient.

It is intended to add a piquancy with a subtle hint of grape in the background. As you can see by the recipes I've delved into below from her book Maggie's Table (2001), it can be used in sweet or savoury dishes, as is (ie. in a salad dressing), cooked down to deglaze a roasting pan of poultry or caramelized to use with sweet treats.

~~~~~

Slow Cooked Lamb Shanks with Verjuice, Preserved Lemon, Bay

17 cloves garlic 8 milk-fed lamb shanks 12 sprigs rosemary Extra-virgin olive oil 5 quarters preserved lemon 8 bay leaves 500 ml verjuice 1 teaspoon peppercorns 1 teaspoon sea salt

Preheat the oven to 120C.

Finely chop 3 of the garlic cloves and put them into a heavy-based non-reactive pot with the shanks, rosemary and a splash of olive oil. Brown the meat on the stove over a low heat, turning it regularly. Remove the pulp from the preserved lemons, then rinse the rind and cut each piece in half.

Put the preserved lemon and remaining ingredients into the pot with the shanks and stir to mix. Cover the pot with a lid, then bake very slowly or 4 hours

Served with Freekah Salad: A Mediterranean toasted grain-based salad.

~~~~~

~~~~~

Apple Tea Cake with Caramelized Verjuice Syrup

6 small Golden Delicious apples
Castor sugar
250 ml verjuice
¾ tsp ground cassia

Cake
100 g softened unsalted butter
100 g castor sugar
2 x 61 g free-range eggs
250 g unbleached plain flour
1 tsp bicarbonate of soda
1 tsp cream of tartar
1⁄2 tsp salt
125 ml milk
1 tsp pure vanilla extract

Caramelized verjuice syrup
250 ml verjuice
240 g castor sugar
300 ml reserved apple cooking syrup

Peel and core the apples, then cut them into eighths and put them into a saucepan with castor sugar and verjuice. Bring to a boil over a high heat, and gently stir until the sugar has dissolved. Turn off the heat and leave the apples in this light syrup for 10 minutes, then drain, reserving the syrup.

Preheat the oven to 180°C and grease and line a 22 cm spring form tin. To make the cake, cream the butter and castor sugar until pale and thick. Add the eggs one at a time, beating well after each addition. Sift the flour, bicarbonate of soda, cream of tartar and salt and add alternately to the egg mixture with the milk and vanilla extract. Spoon the batter into the prepared tin. Arrange the apple on the top in a concentric pattern, pushing the pieces into the batter slightly. Mix 2 teaspoons of castor sugar and the ground cassia and sprinkle evenly over the top. Bake for 45 minutes or until a skewer inserted into the centre of the cake comes out clean. Let the cake stand for at least 10 minutes before removing the tin.

While the cake is cooking, make the syrup. Have iced water ready in the sink or a large bowl. Bring the verjuice and castor sugar to a boil in a saucepan and cook until a deep, golden brown. Remove the caramel from the heat and cautiously add the reserved apple cooking syrup – the mixture may spit a little. Stand the saucepan in the iced water immediately to arrest the cooking, then pour into a jug ready to serve.

To serve, brush the warm cake with the syrup. Put a wedge of warm cake onto each plate (one with a gentle lip is best), then ladle over the syrup and offer with a hearty dollop of thick cream.

~~~~~

You won't want to miss Maggie Beer's cookery demonstration at this year's LitFest!